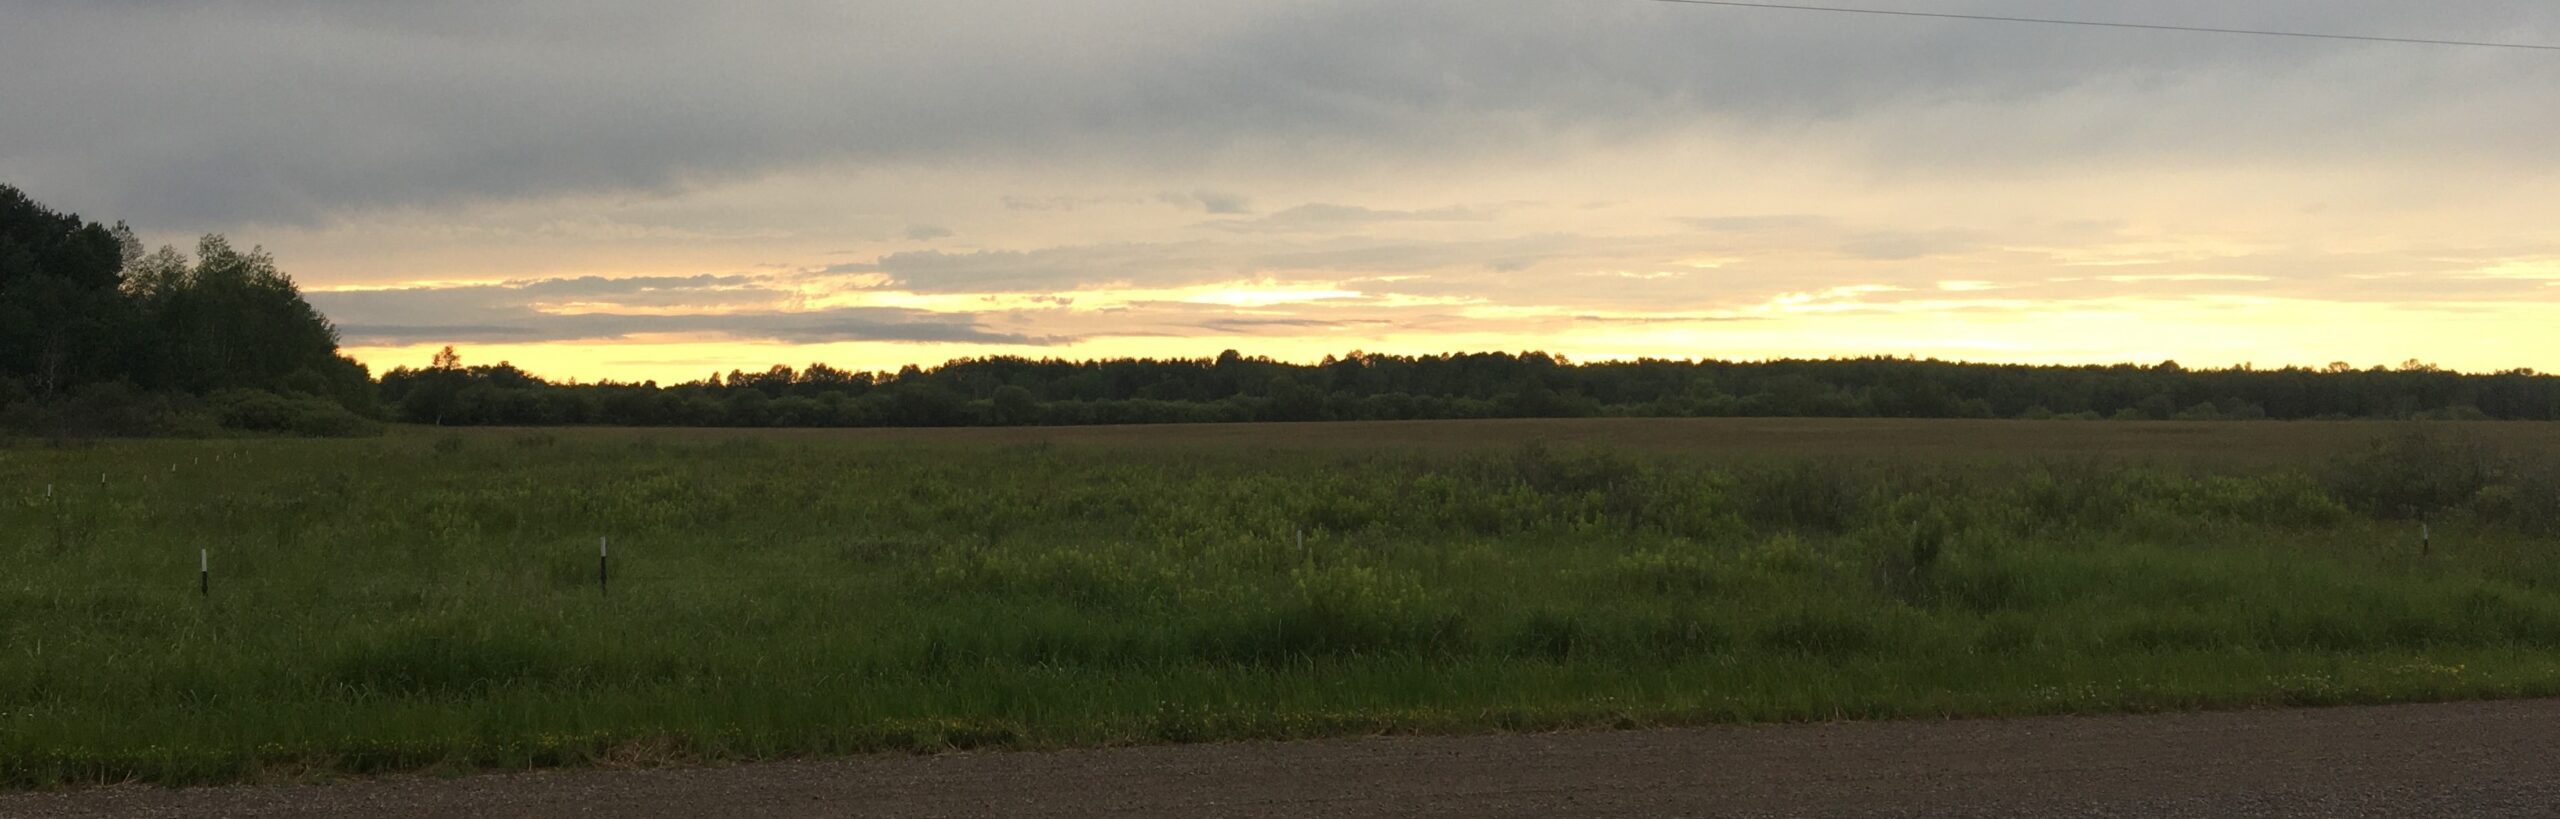
And I’m super proud of it! 😁 Technically I built this back in 2021-2022, but I am still pretty impressed by what I was able to do on my first try. It’s always nice to exceed your own expectations from time to time 😊 I’ve mentioned this building in the past, and this post will give a little background into the build. I hope you enjoy!
As a quick refresher, we decided we needed to build the outhouse so that we could go up there any time of the year. We put a wood stove in the sleeping shack so our heat was taken care of, but an outhouse with solid walls was also needed. I’ve even done some winter camping there in the past couple of years, and the outhouse was very nice to have! We had originally planned to build the outhouse log cabin style, but once I found out how long it would take me, some adjustments needed to be made.
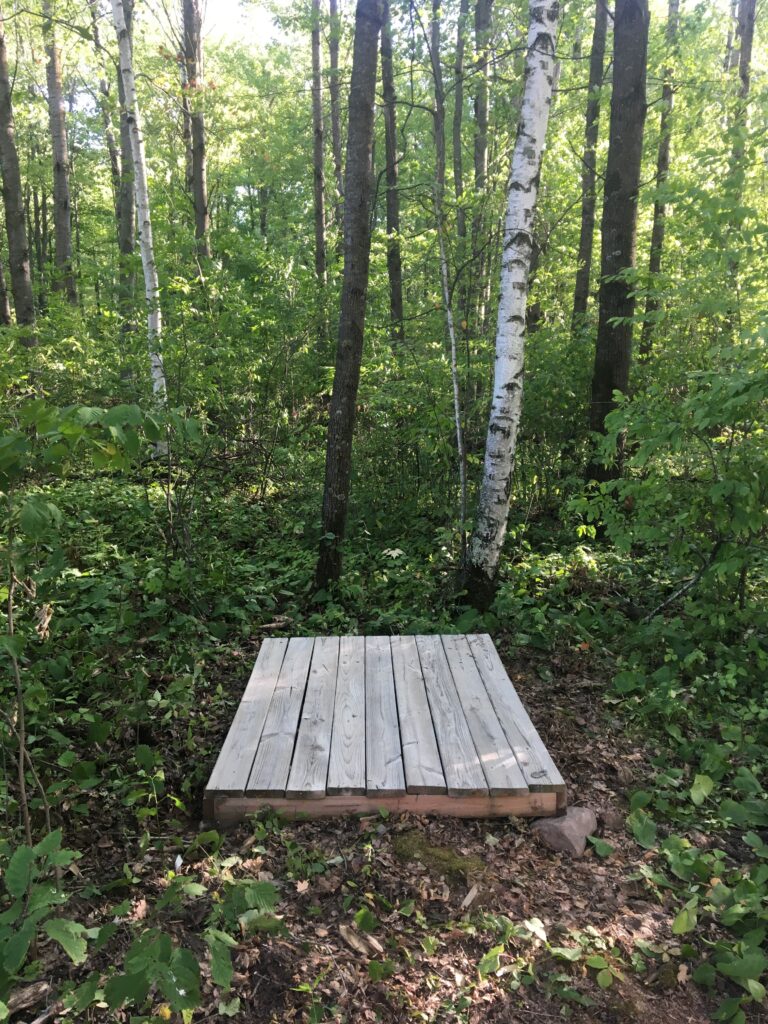
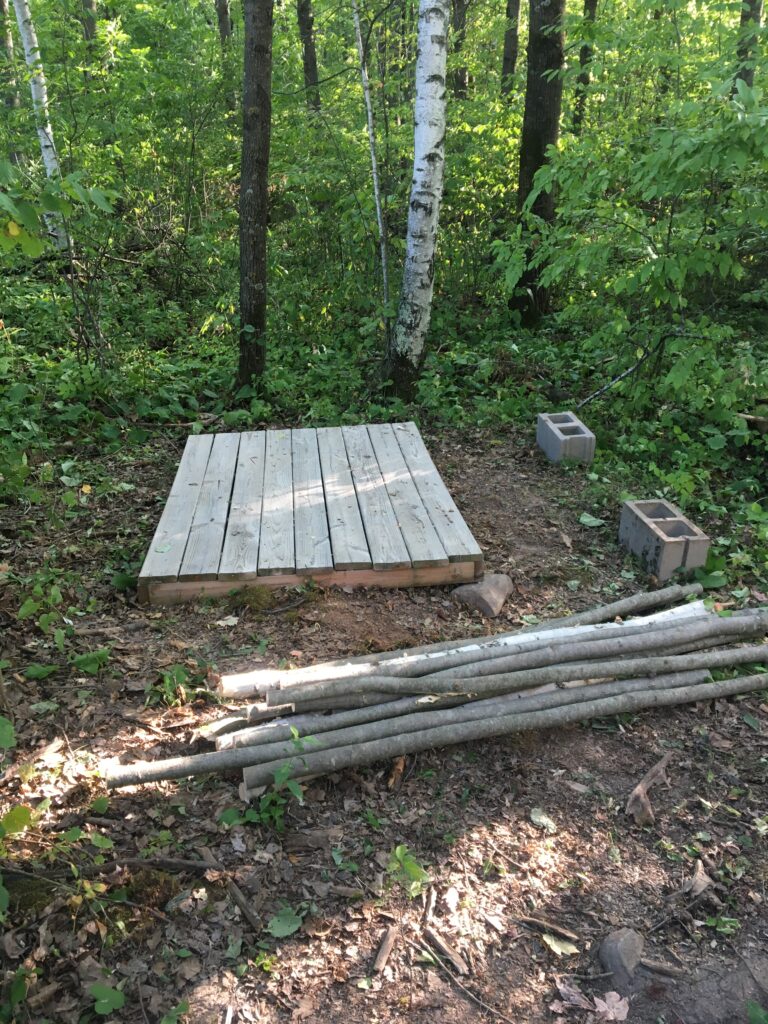
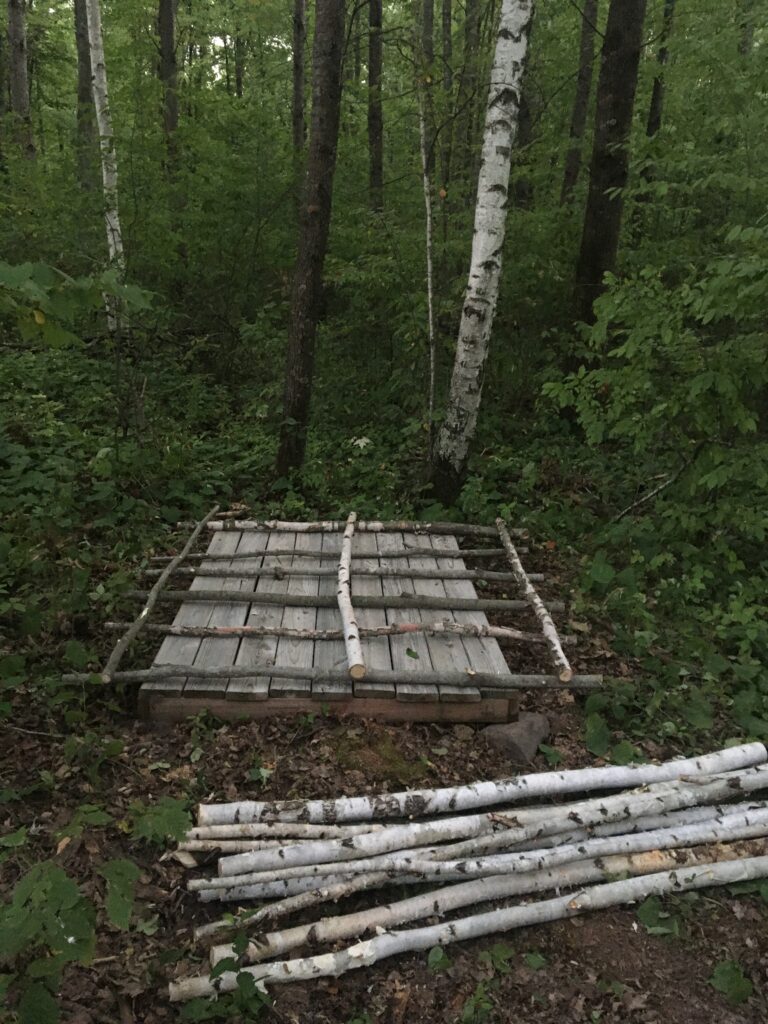
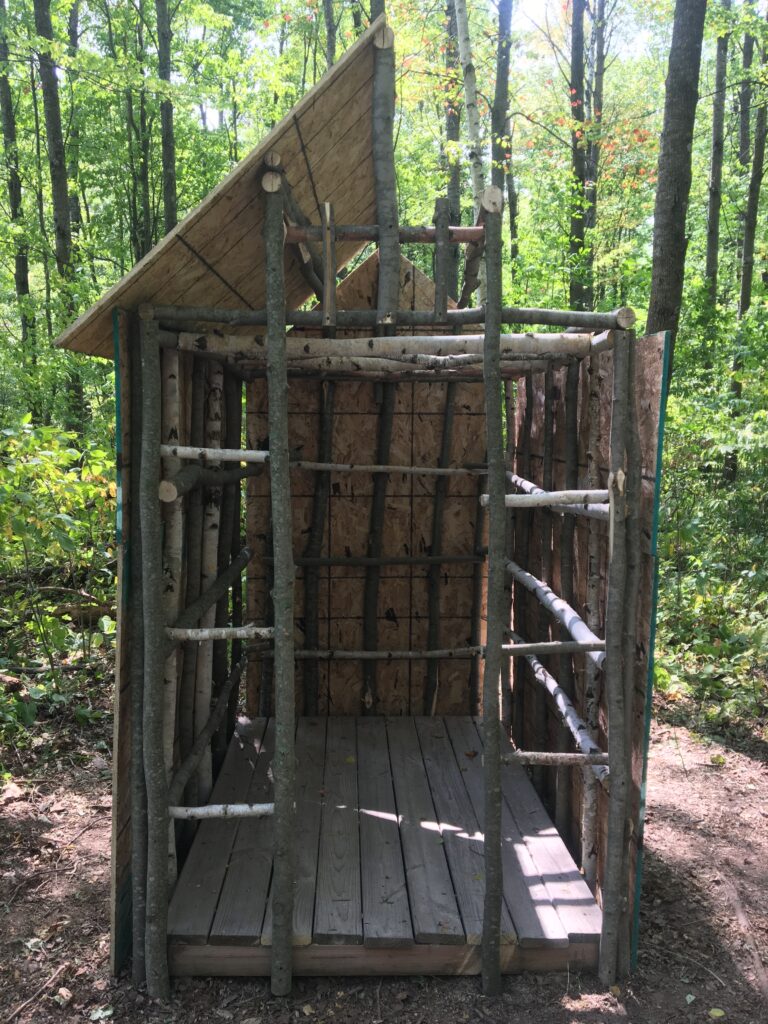
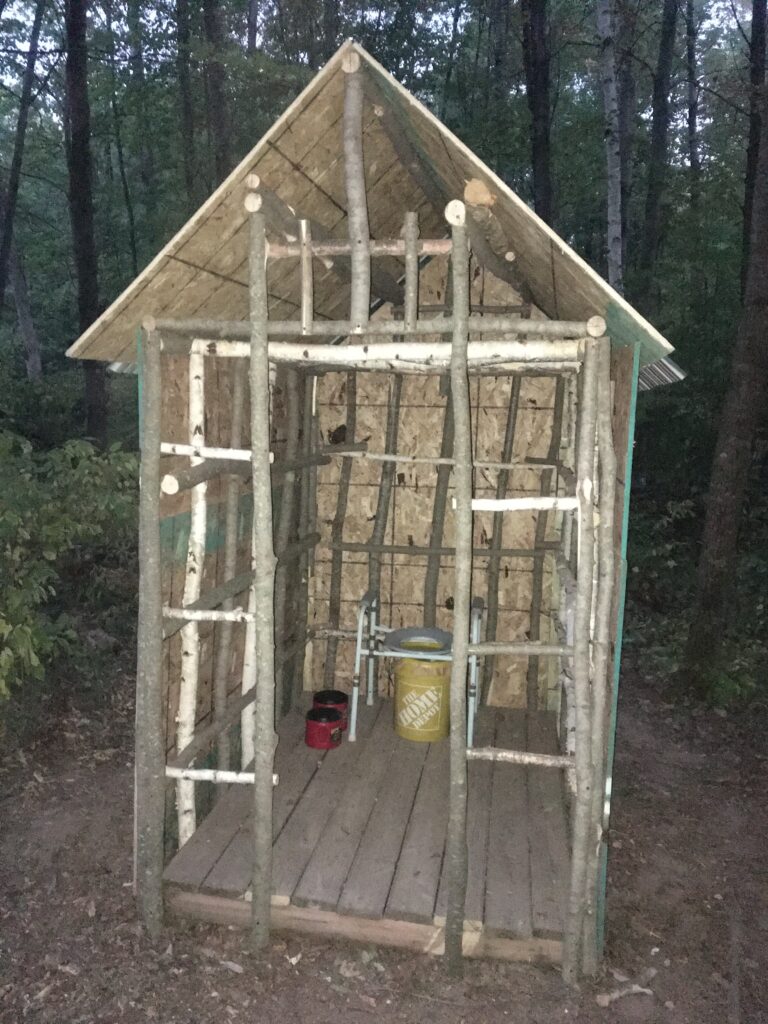
I had never built a building before, but we had recently assembled the sleeping shack so I had a rough idea of how to go about it. First I needed a base. When we built the sleeping shack it freed up the platform I had built for the tent. Luckily I had built the platform in sections so I was able to just use one of those.
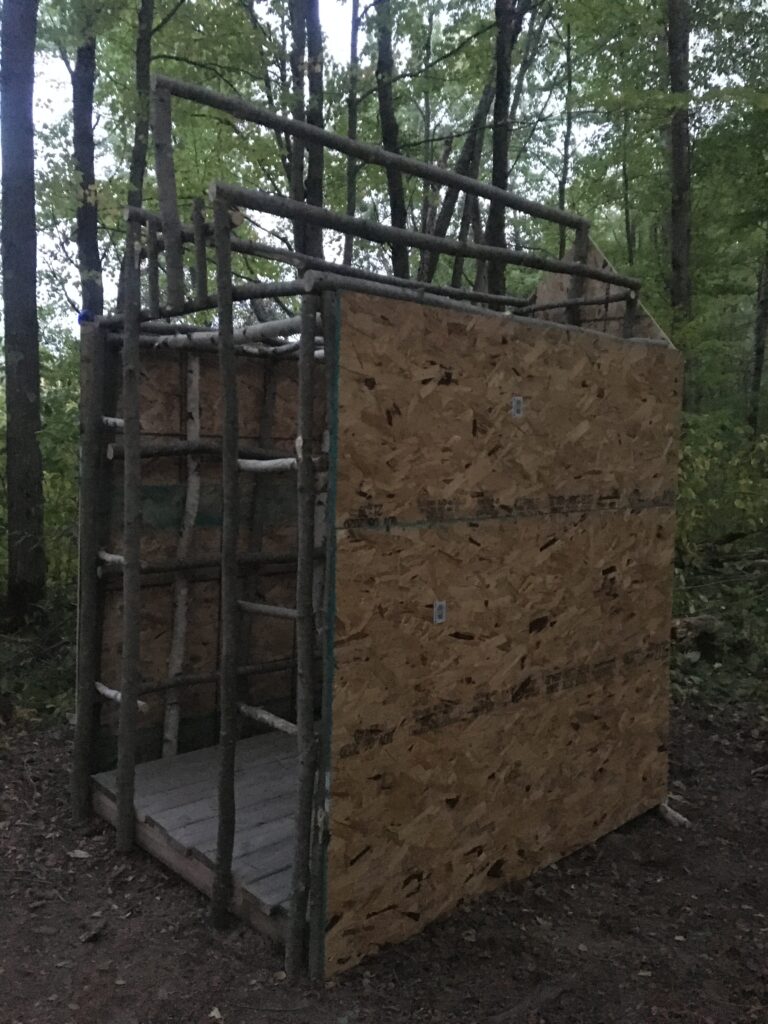
Rather than purchasing dimensional lumber for the frame I wanted to try and use saplings from the homestead. It saved me some money plus I got to get some machete practice in. This is when I learned exactly how awesome machetes are for this type of work. It always surprises me how much easier work can be when you have the right tool for the job 😊 I needed a decent number of saplings, so I spent a couple weekends just collecting those. Here is one of the piles I collected.
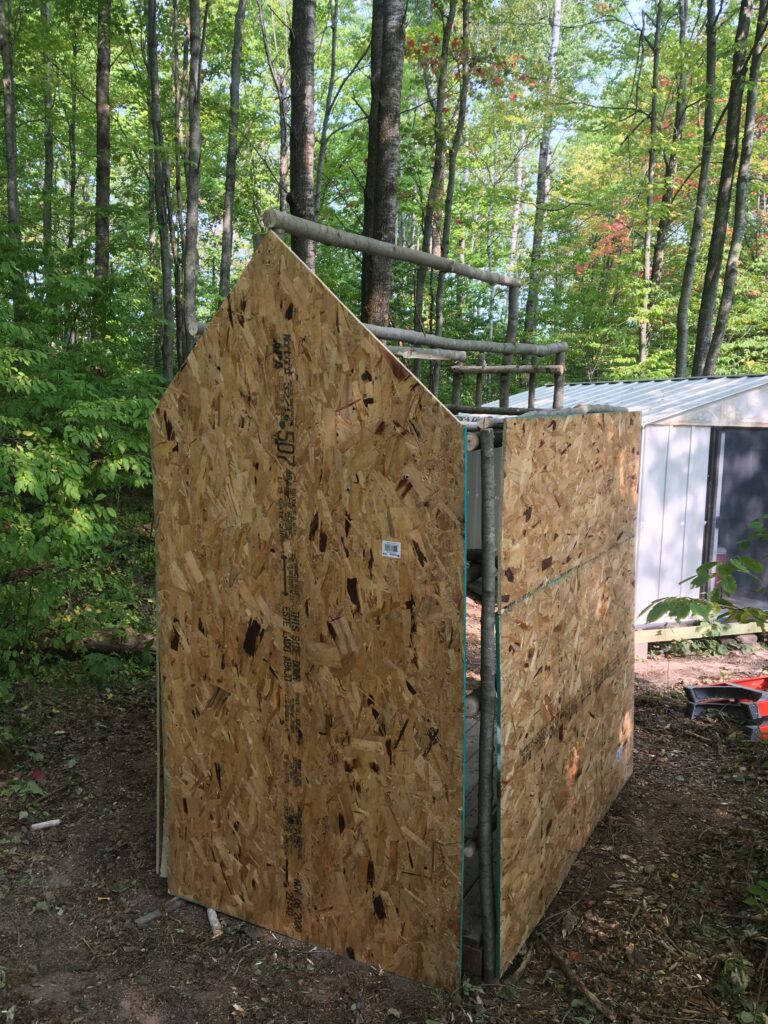
Once I had enough saplings it was time to build the walls. I decided to build the walls on their own and just attach them to the base. I chose this route since I was doing most of the work by myself, and this way I could build them ahead of time.
Once I had the two side walls and the back wall complete it was time to start some assembly! I definitely needed an extra set of hands for this so we made sure to do it on a weekend when my wife was up there. I put in a few cross beams to help hold things in place and we were on our way!!
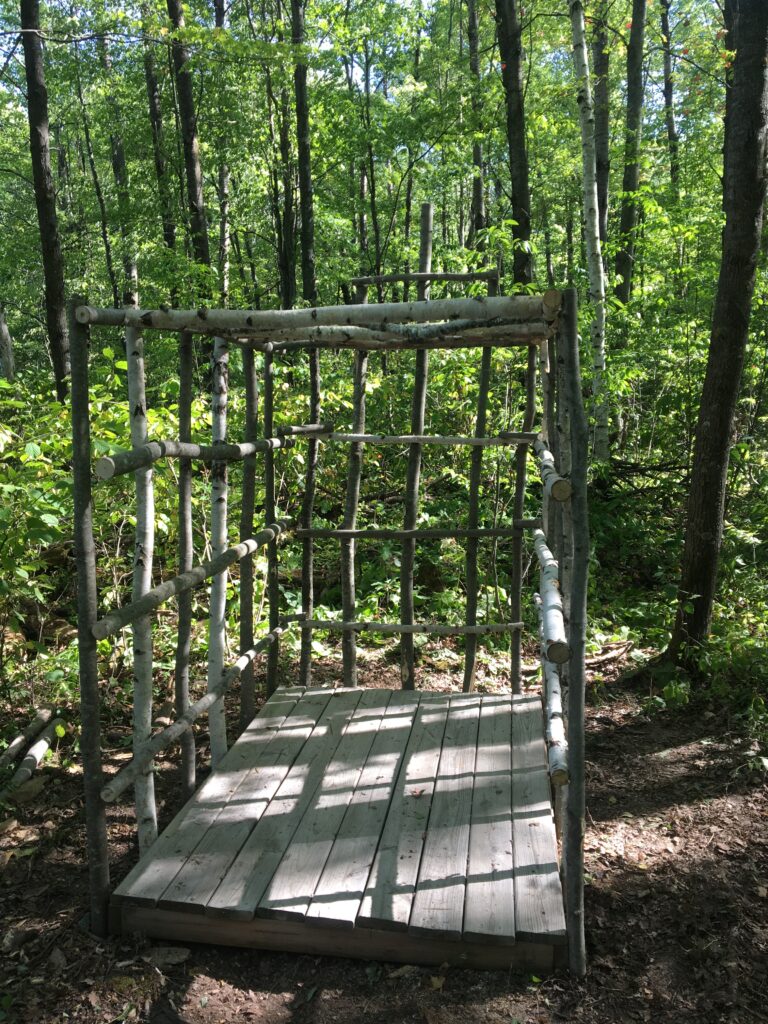
With this part complete it was time to move on to the roof. I had almost no idea what I was doing at this point, so assembly slowed down quite a bit. We ended up getting there without too many hiccups, and it was important to remind myself that a big reason for building this was to gain some experience and learn from it! It has been a few years, but if I remember correctly the most difficult part was making sure the slope was consistent throughout. I needed to do some minor adjustments when it came time to attach the roof panels, but this got us 95% of the way there. In the end it wasn’t too bad as long as I triple checked my math before making any cuts 😁
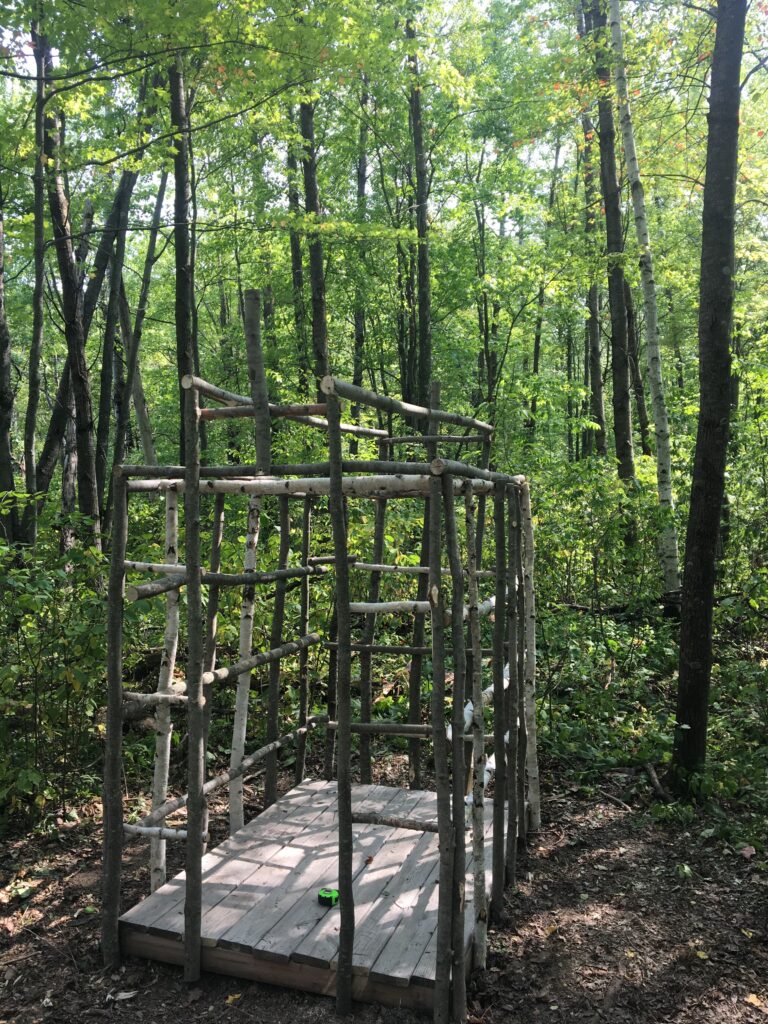

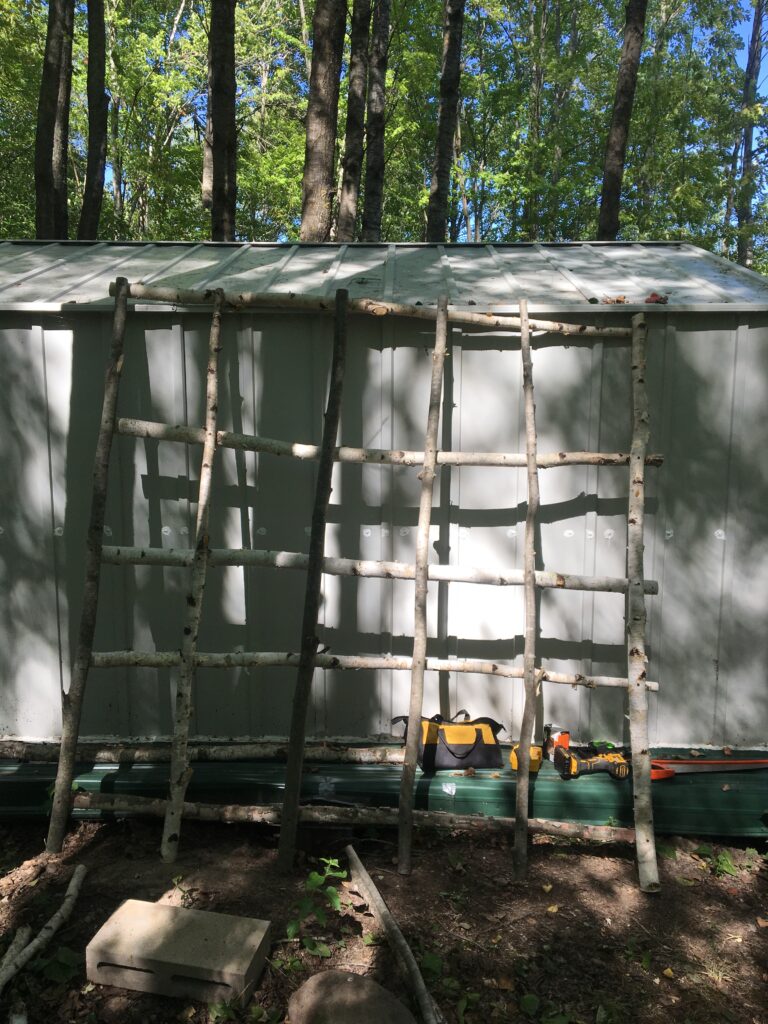
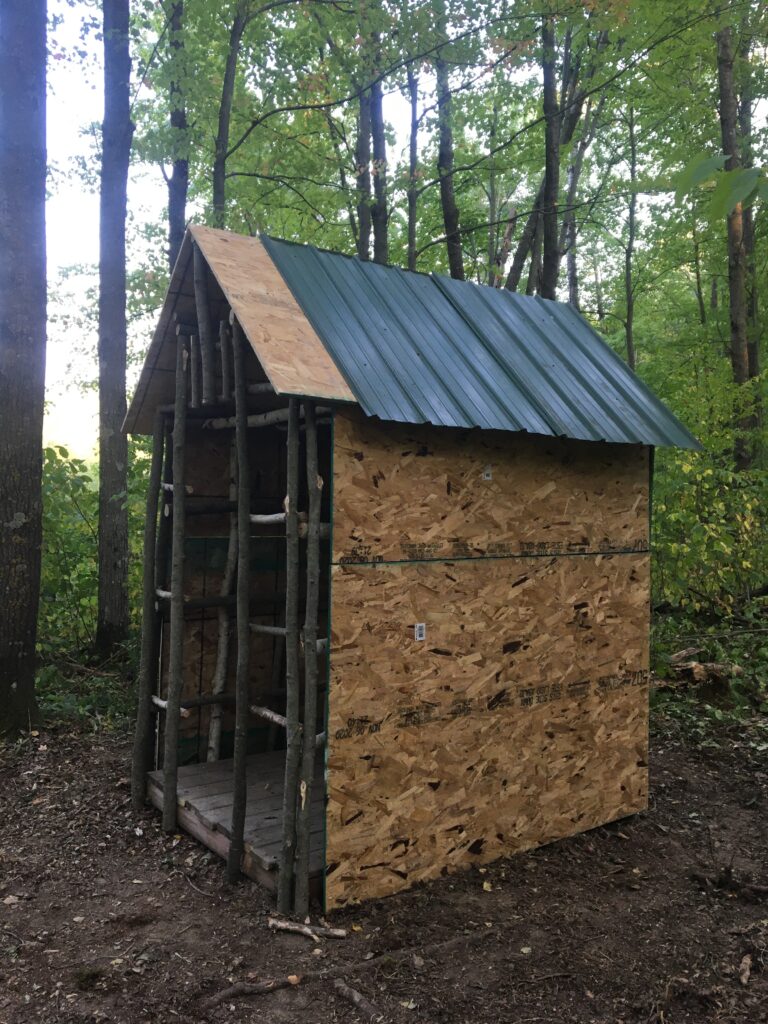
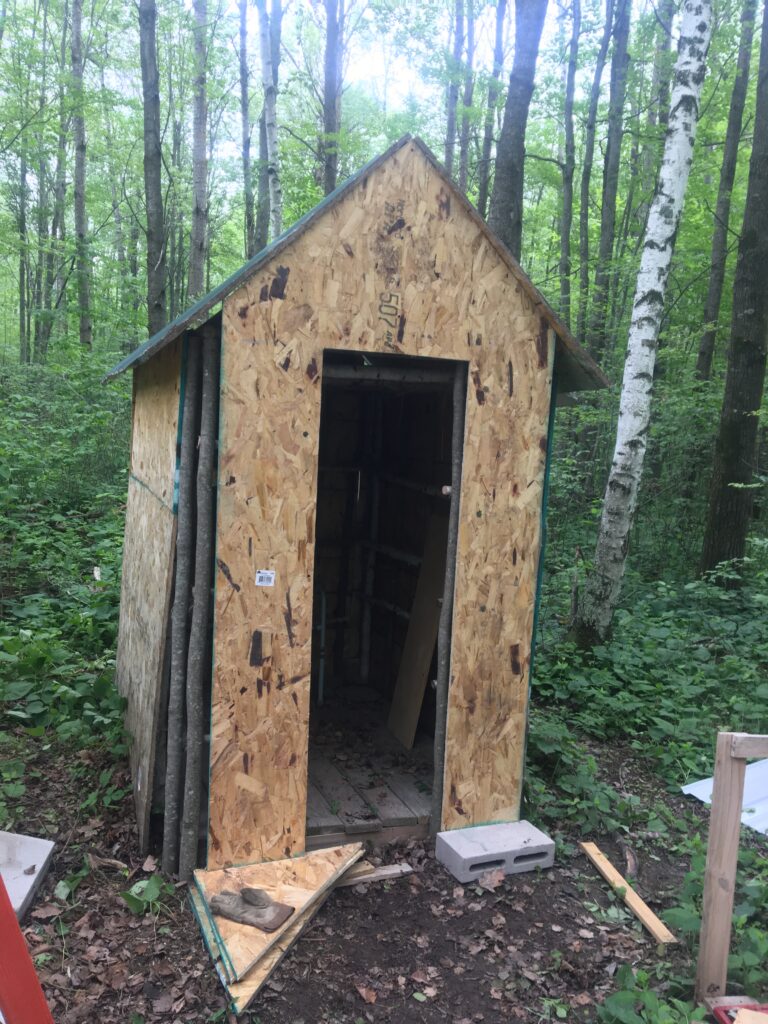
With the big mental side of the project complete, it was time for my other muscles to put some work in. The plan was to put OSB sheathing on the frame and then use additional metal roof panels on the roof. I wanted the panels to have some strength to it so I went with 1/2″ thick pieces. What I didn’t plan for (or quite understand more accurately) was how much work it would be to carry the pieces a quarter mile from the truck to the outhouse. Not wanting to take a bunch of trips with just one piece, the challenge was trying to figure out how many sheets I could carry together. After many trips and breaks (during and between trips) I finally had all the sheets where they needed to be. I don’t remember a time when my arms have been more tired. I was happy they functioned enough for me to eat some dinner!
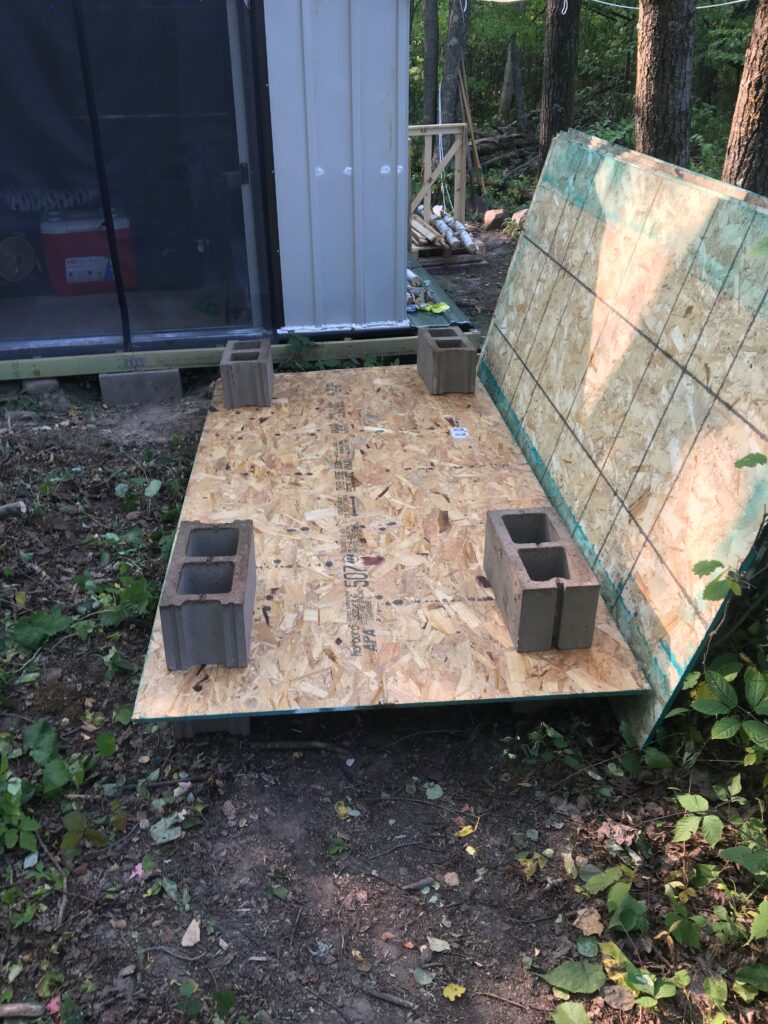
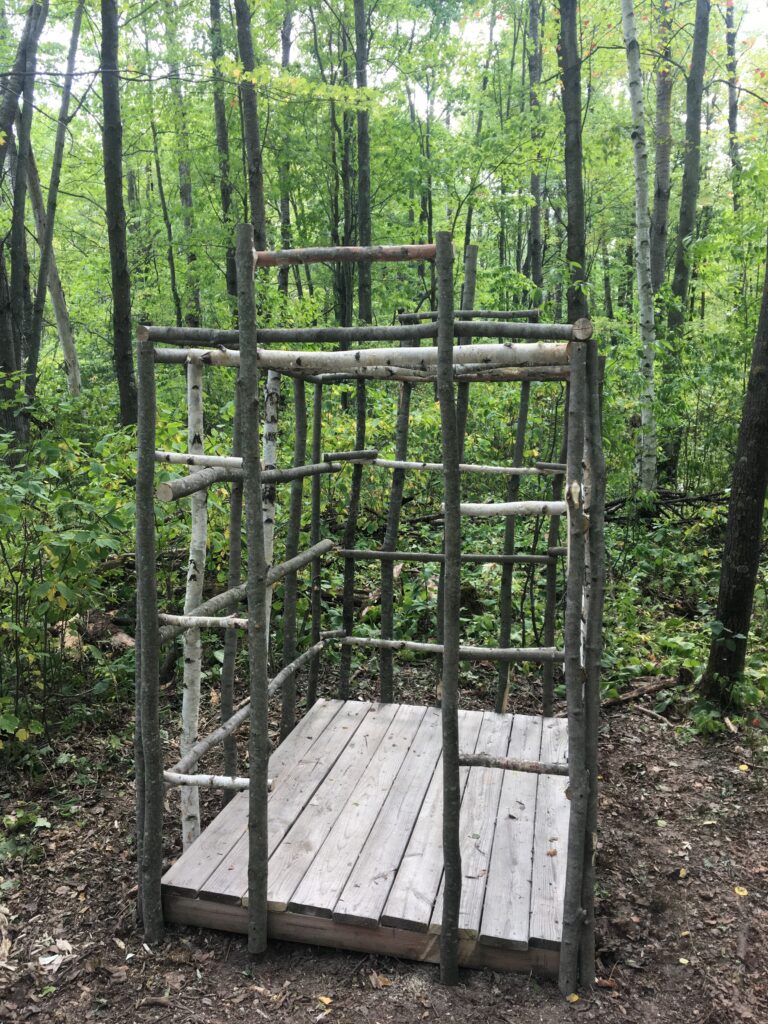
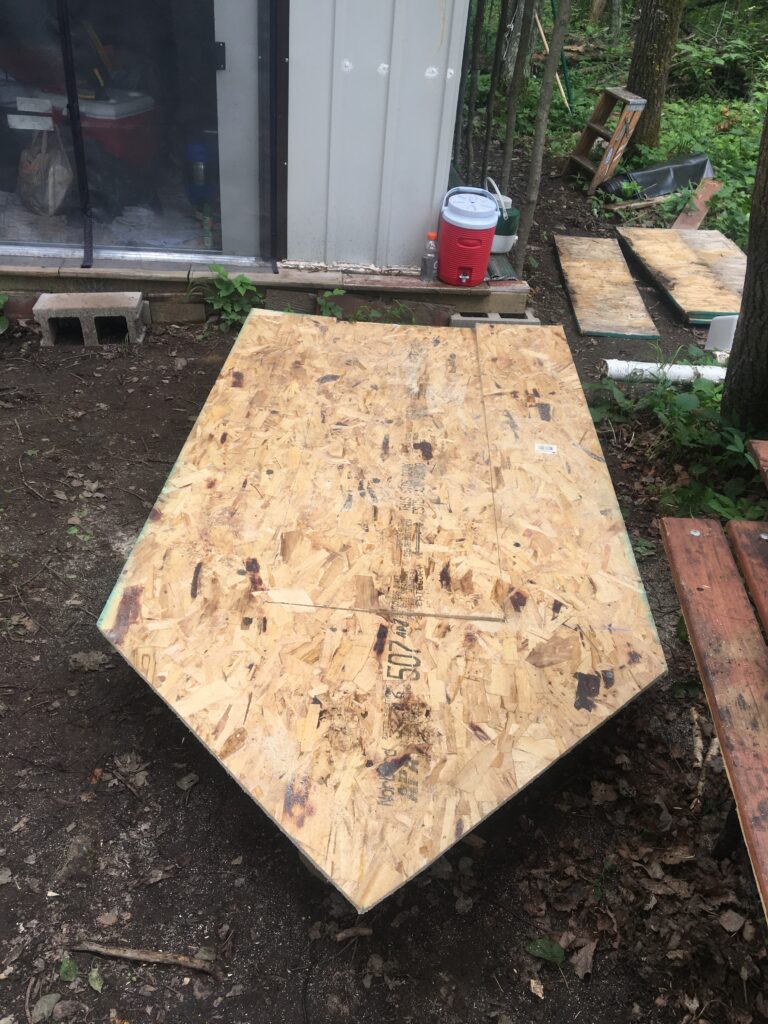
From this point on it was pretty straight forward. The walls were easy, but the roof took a little effort. Mostly because I had to carry a whole panel up a ladder, hold it in place, and then secure it to the frame. Since the saplings I used were not perfectly straight, I had the extra challenge of trying to hit the frame with each screw when I was securing both the plywood and metal roof panels. I tried to use as much of a full sheet of plywood as I could to minimize saw cuts. I was using a hand saw so every cut was a decent amount of energy which is why minimizing the number of cuts is important 😊 The platform I built this around was approximately 6’ X 4’. The platform wasn’t spot on at 4’ plus I attached the walls to the outside, so the final width was between 4.5’ – 5’. I designed the height to be 8’ so it could use a full sheet on the front and back walls. Just a couple of diagonal cuts (outside of the door) and the two walls were mostly done! For the side walls I used 3 sheets in total. I cut all 3 down to a 6’ length and 1 piece got cut in half lengthwise. Each side wall had a 6’ X 4’ and a 6’ X 2’ piece to make up the 6’ X 6’ walls.
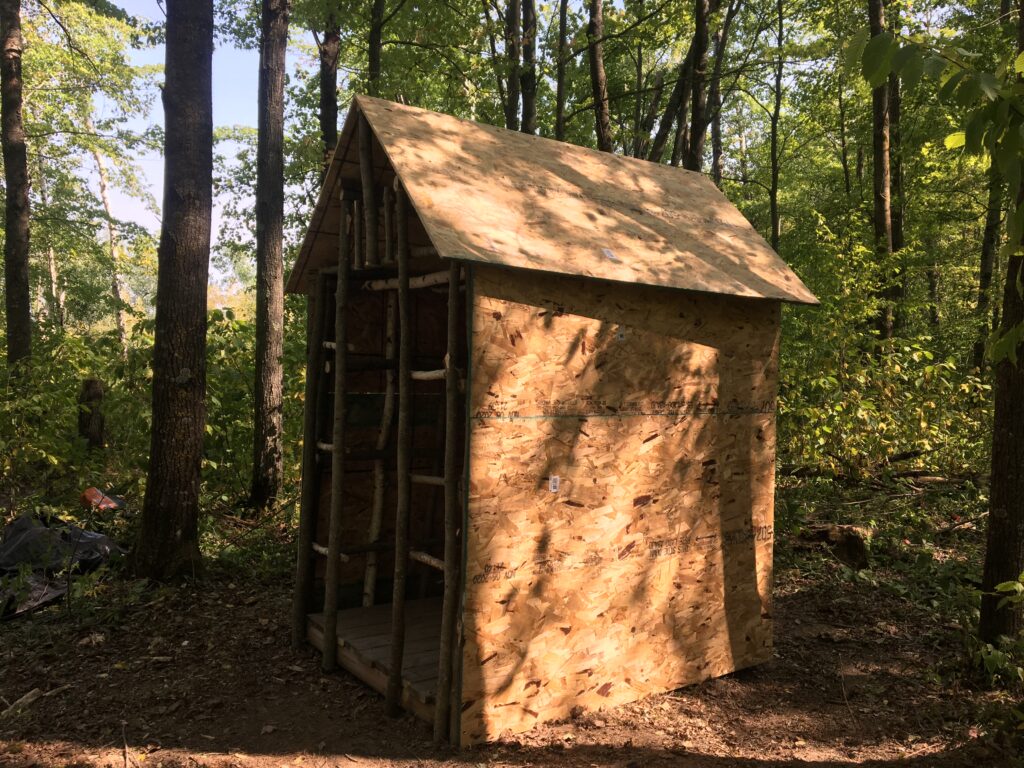
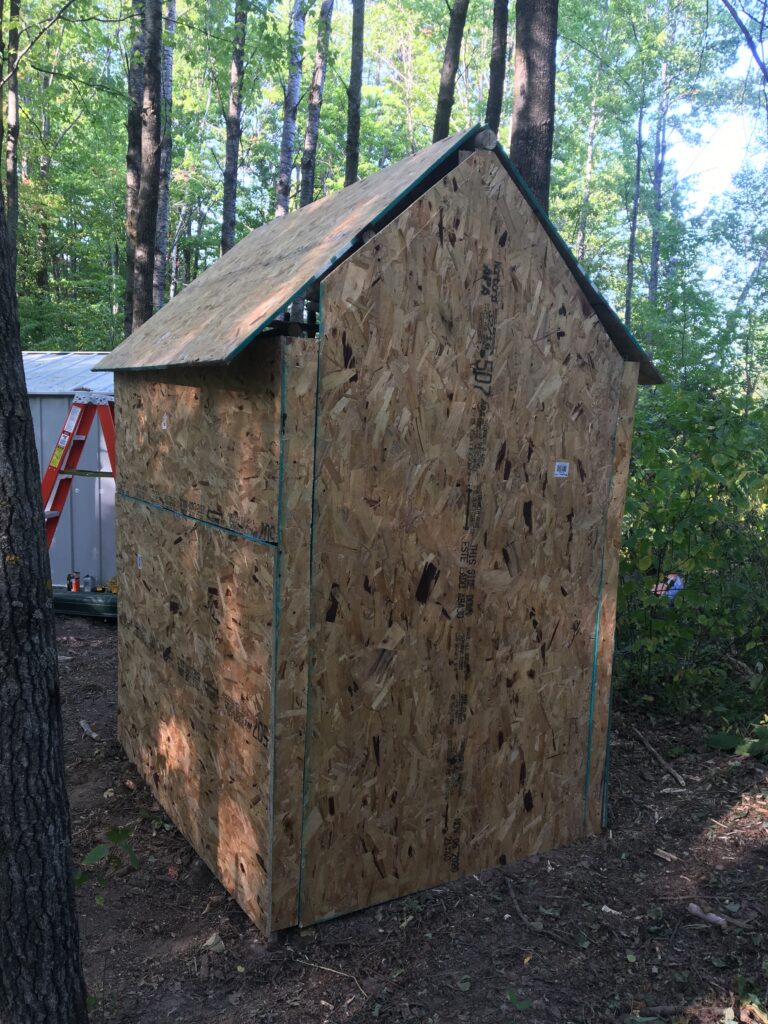
At this point I had run out of time for the year. Winter was coming and we had a fully packed fall schedule. I had done enough to make it functional, so I was fine to call it good for the time being. A roof and 3 walls was sufficient to keep the bulk of the wind out until I could finish it next year.
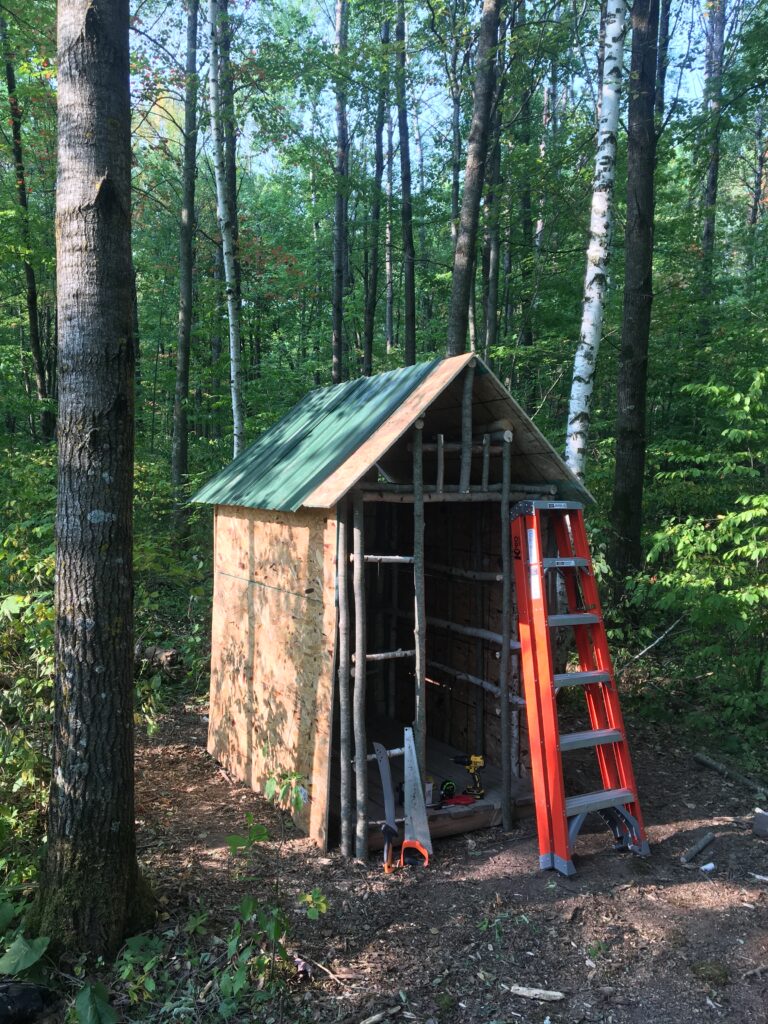
With a new year upon us I was excited to finish up the outhouse. The remaining items were the 4th wall, a door, and a couple of metal roof panels. For the door, I just cut out a rectangle and attached it with some basic hinges. I cut out a crescent moon and called it done!
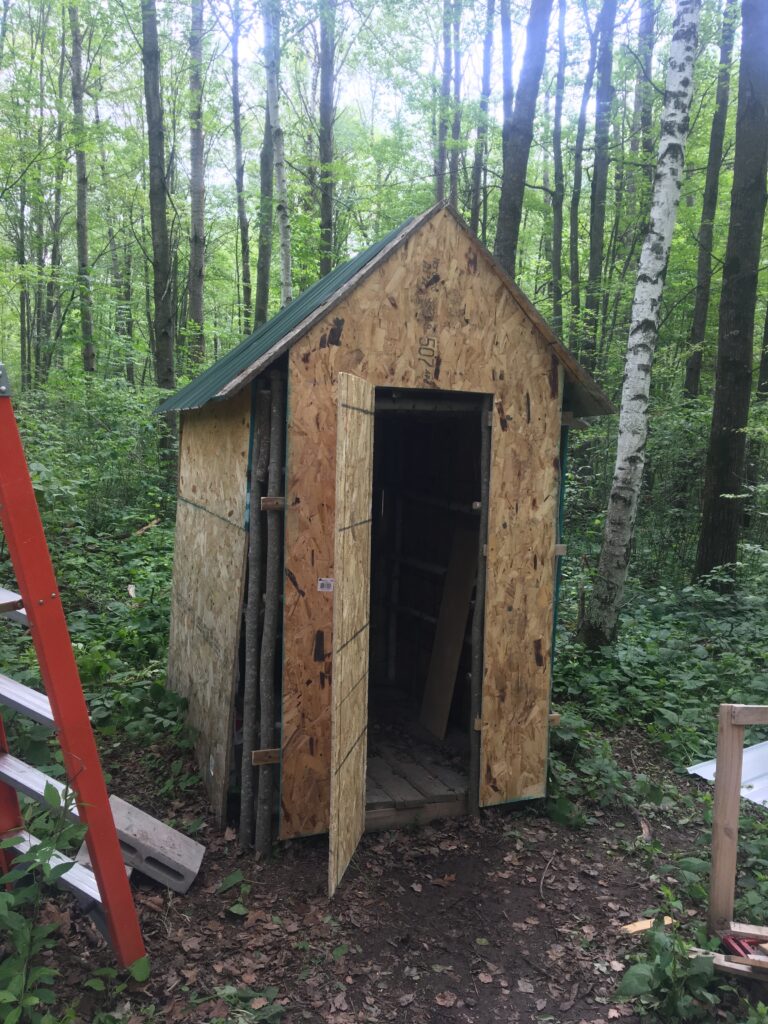
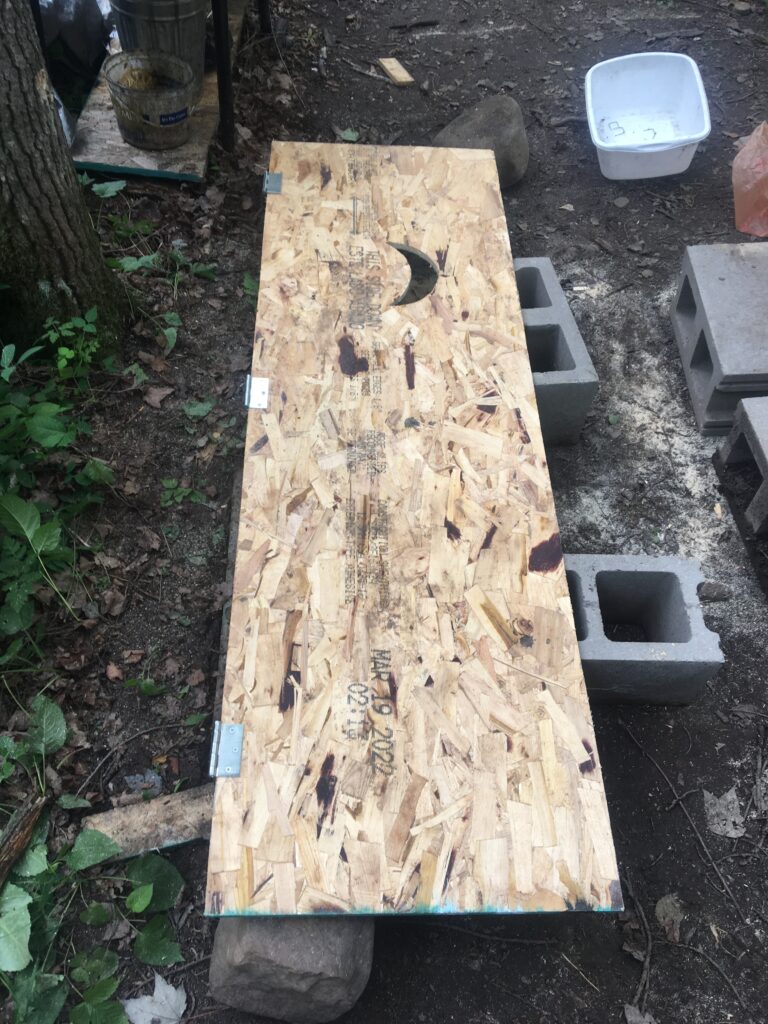
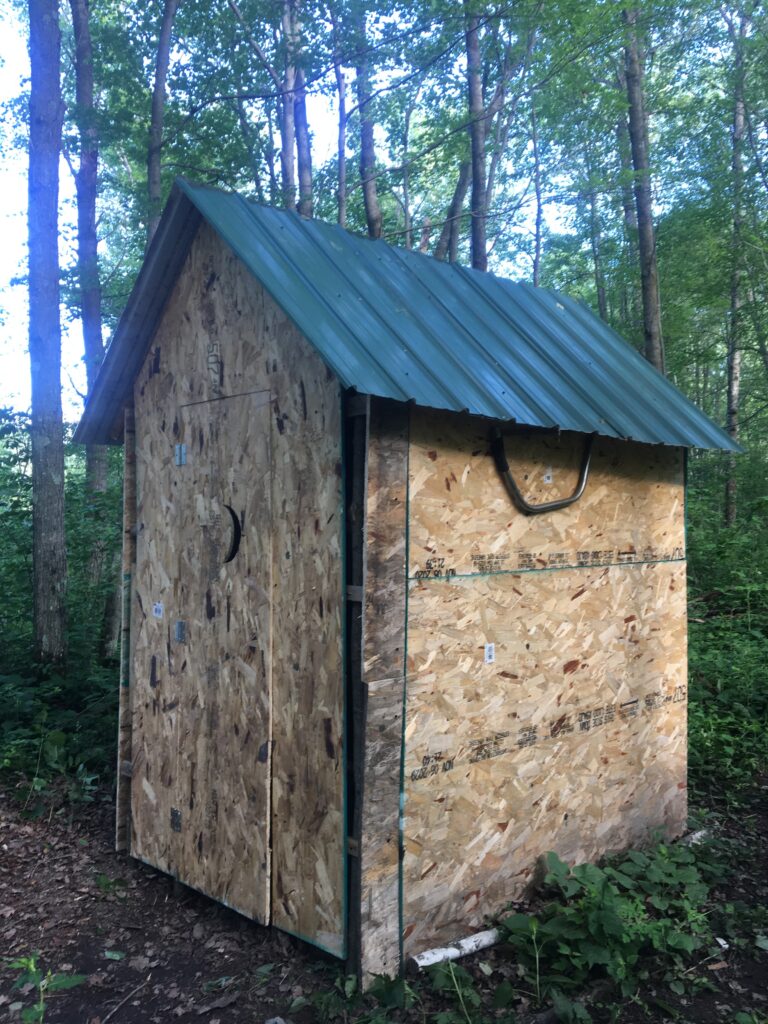
And that concludes the story of my first building! I learned a lot from the experience and had a ton of fun in the process. It doesn’t get much better than that! In true Will fashion, it is far from perfect, but it definitely gets the job done 😁 If I had to change anything I would have slightly rotated the moon. I guess that’s what these learning opportunities are all about! 😂 I hope you enjoyed the post, and I’ll try to get a couple more up here without such a long gap 🤞 Take care out there!